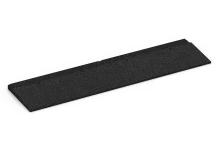
Patio tile – 3 cm FF "Anthracite"
- /
-
Ready to ship
from stock in 1-3 days - €41.20 / 4 Piece / m²
- (5.00 kg / Piece)
EAN: 4251469362475 | Item no.: 6247
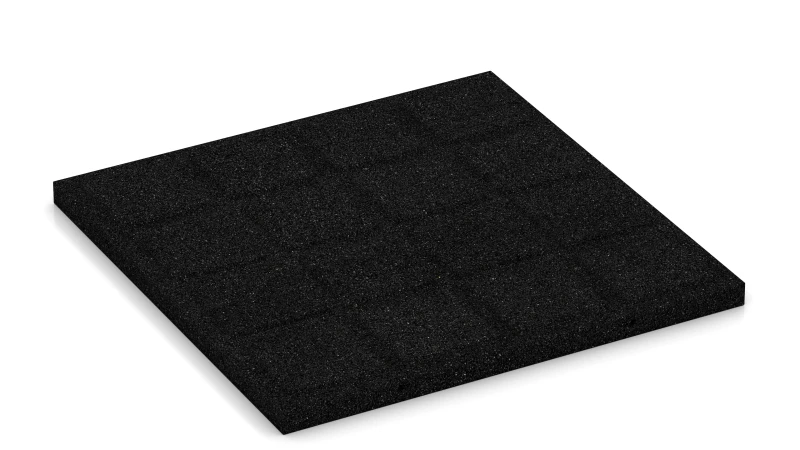
The 50 × 50 × 3 cm patio tile is an elastic floor covering made from PU-bound rubber granulate, designed for patios, balconies and garden paths. The tiles are laid in a half-bond pattern and joined along two sides by plastic connectors. Their handy format makes transport and installation straightforward, even on upper floors and roof terraces.
Areas of application
The patio tile suits virtually every outdoor area around the home: roof terraces, balconies, loggias, garden seating areas, pool surrounds and connecting paths. It bridges minor unevenness in the substrate and creates a pleasantly elastic walking surface that contrasts noticeably with hard stone paving.
Construction and layers
The patio tile consists of PU-bound ELT rubber granulate. ELT denotes processed granulate recovered from end-of-life vehicle tyres. The high binder content delivers a hard-wearing and dimensionally accurate tile. In coloured versions the binder is pigmented and coats each individual granule. The chamfered edge running around the tile produces a clean, even joint pattern.
Water permeability and drainage
The patio tile is permeable across its full surface. Drainage channels are formed on the underside: on bound sub-bases rainwater follows the fall through these channels and runs off, while on plastic gravel grids it seeps directly into the ground beneath. As a result the surface dries quickly after rainfall.
Installation and connection
The patio tiles are laid in a half-bond pattern on a bound sub-base, an existing hard surface or a plastic gravel grid. Suitable hard surfaces include screed, concrete, stone slabs and timber decking. Two sides are pre-drilled for plastic connectors, which couple each tile to two tiles in the neighbouring rows. The resulting tile bond prevents lateral movement. A perimeter edge restraint must be provided on site; it can be omitted where the connectors are bonded in place during installation.
Comfort and care
The surface is foot-elastic, slip-resistant and water-permeable. It cushions footsteps and impact sound – a tangible benefit over hard stone paving. Surface dirt can be swept away or rinsed off with a garden hose or pressure washer. The patio tile is weather-resistant, low-maintenance and long-lasting.




Discount
Product Highlights
Characteristics
Product Details – Material and Structure


Comparative values
The number of tiles required for an irregular area can be calculated manually or determined using the digital laying planner.
For irregular areas, a scaled laying plan on graph paper is recommended. For the manual calculation method, draw the area on graph paper at a scale of 1:100, where 1 cm corresponds to 1 m. Place the tile grid over the drawing and draw the tiles within the area according to their laying dimensions. The drawing shows where offcuts will be required and allows the required number of tiles to be counted.
The online laying planner determines the quantity required more quickly than the manual calculation method. It is available for every product in the online shop. Once the area dimensions have been entered, the tool automatically calculates the number of tiles required and displays a suitable laying pattern. On the product page, simply click ‘Plan installation’. The planner works directly in the browser, is free of charge and does not require registration.
Outdoor rubber tiles and rubber mats from WARCO are weather-resistant and weatherproof. Made from PU-bound rubber granules, they do not rot or decay.
The rubber tiles are installed as a floating surface, without adhesive or screws, so they cannot detach from the substrate and the installation does not damage it. They are porous and water-permeable rather than waterproof: rainwater enters the structure and drains down through the tiles instead of remaining on the surface. Below the tiles, water must be able either to run off along a gradient or to drain directly into the substrate, allowing the area to dry quickly.
In freezing conditions, both the rubber granules and the polyurethane binder remain elastic, while water within the pores has space to expand as it freezes. The rubber tiles are therefore frost-resistant and do not crack or break. Sunlight and weathering mainly affect the colour; UV stabilisation slows the effect of UV radiation but does not keep the colour permanently unchanged. An EPDM wear layer is coloured throughout, colour-stable and UV-resistant. With recycled tyre rubber granules (ELT) and a pigmented PU binder, the shade may change over the years, while pure ELT ages at the surface under intense sunlight. Changes in moisture and temperature cause the rubber tiles to expand slightly and then contract again.
Installation of many WARCO rubber tiles can be carried out without a specialist contractor.
WARCO rubber tiles can be used as flooring for patios and balconies, as fitness flooring and as playground safety surfacing. This requires the product, substrate and build-up to be appropriate for the intended application.
The tiles are loose-laid. Depending on the range, they are joined using a puzzle-style interlock or plastic connectors.
Preparation of the substrate and any necessary edge cutting can be managed with practical DIY skills.
Visible jigsaw interlocks, plastic connectors and concealed jigsaw interlocks differ in their edge profile, joint appearance, available laying patterns and whether the tile area requires bonding or a perimeter restraint. Three variants are used for tiles made from rubber granules: visible jigsaw interlocks, plastic connectors and concealed jigsaw interlocks. With visible jigsaw interlocks, the toothed edge engages with the adjacent tile over the full tile thickness. Depending on the range, the teeth are dovetail-shaped or rounded, and are formed during pressing or cut from the tile at the factory after several days of curing. How clearly the tooth pattern remains visible across the surface depends on the edge design and colour. Where all four sides have the same tooth pattern, tiles can be laid in any direction; where the side profiles differ, the laying direction is fixed. This is the most stable of the three systems and holds the tile area together without bonding or a perimeter restraint.
Where bonding or a perimeter restraint is required, tiles with plastic connectors have straight edges and are joined by cylindrical plastic connecting pins inserted into factory-made holes in the tile sides. They are laid row by row in a half-bond installation. Each tile connects to four neighbouring tiles, with two in the preceding row and two in the following row; tiles within the same row are not connected. The plastic connector fittings limit movement across the pin axis, while tiles can still move along that axis. The tile area therefore needs bonding or a fixed perimeter restraint acting along the pin axis. An existing parapet or wall can often provide this restraint, as can an adjacent lawn at the same level, holding the tiles laterally.
Unlike the straight edges used with plastic connectors, concealed jigsaw interlocks place the toothed profile in a step on the underside, outside the visible edge area. Two tile sides carry the projecting profile, with the matching profile on the two opposing sides, which determines the laying direction. The interlock is not visible from above and the joints run in straight lines. Tiles can be laid in a stack bond or a one-third offset. Because the interlock sits within the step, the joint does not extend down to the sub-base, which remains fully covered.