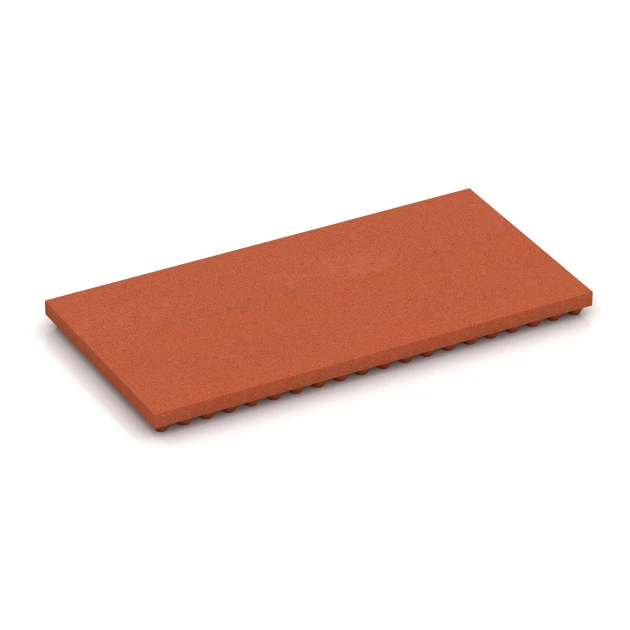
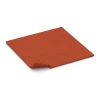
Luxury stable mat SD "Brick red"
- /
-
Delivery in approx.
7-14 days - €84.60 / 2 Piece / m²
- (18.50 kg / Piece)
EAN: 4251469336445 | Item no.: 3644
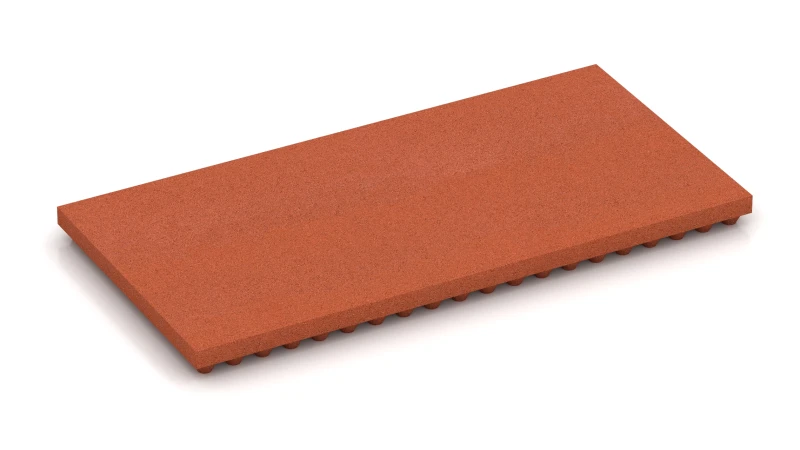
The WARCO Luxury stable mat is a highly comfortable flooring for horse boxes, loose housing and open stables. At 55 mm thick, it provides joint-friendly support and noticeable lying comfort – even for older or recovering animals.
Material & production
Made from a blend of coarse ELT rubber granules and ELT fibres, the material is bonded with polyurethane and pressed in moulds to create mats of increased density. The result is a flooring that is mechanically strong yet resilient, offering horses a secure and comfortable surface.
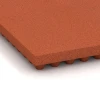
Comfort & stability
The textured surface provides reliable grip during sudden movements and helps older horses get up more easily. Thanks to its density, the mat cushions shocks and vibrations effectively, without the hoof sinking in or the surface feeling soft or unstable.
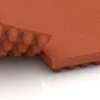
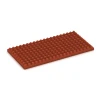
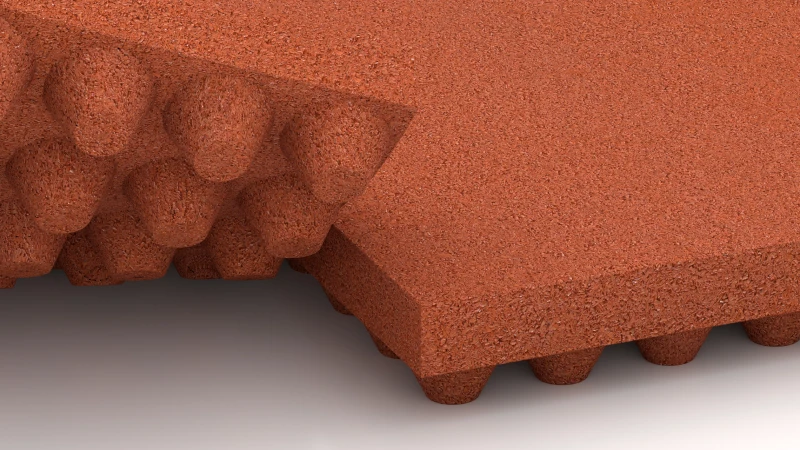
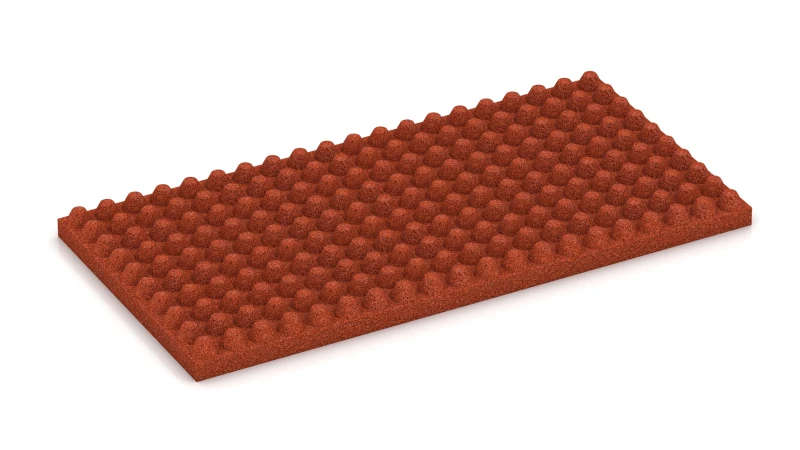
Profiled underside
The heavily profiled underside enhances thermal and acoustic insulation and supports the mat’s functional elasticity. It allows vapour to pass through while remaining only slightly permeable to water, ensuring a dry, quiet and horse-friendly stable environment.
Installation & handling
The rectangular mats are always laid in a staggered pattern, with the area framed. As the mats are not interlocked, they can easily be lifted for cleaning and then relaid. Bevelled edges ensure an even, particularly stable surface.
Use & stable hygiene
Horses should not be expected to urinate on the mats. They should either have permanent access to a paddock with sand or grass, or a toilet corner with bedding should be provided in the stable. This way, urine is absorbed immediately, ammonia build-up is avoided and daily mucking out is easier – benefiting both the flooring and the stable environment, while supporting animal welfare.


Discount
Product Highlights
Characteristics
Product Details – Material and Structure

Comparative values
To calculate how many tiles you need for your project, simply use the online installation planner available in the shop. This free browser-based tool is directly accessible on each product page – just below the price and quantity selection. Click on “Plan installation” to open the tool instantly – no registration or download required.
Enter the dimensions of your area, such as the length and width in metres. The planner will then automatically calculate the total number of tiles required, including a realistic allowance for offcuts. You’ll also be shown a suitable layout pattern for the selected product. The tool is user-friendly, accurate and ideal for planning your material requirements with confidence.
Yes, that is the standard approach. The vast majority of our customers – whether private, municipal, or commercial – install the delivered WARCO tiles themselves or with their own staff. The installation is simple and requires no special skills. Only fitting the curb into a concrete foundation with back support demands a little extra craftsmanship. Cutting the elements to size and laying them on a suitable substrate is not challenging. You can find all essential installation information in our Expert Advice – FAQ section on our website.


