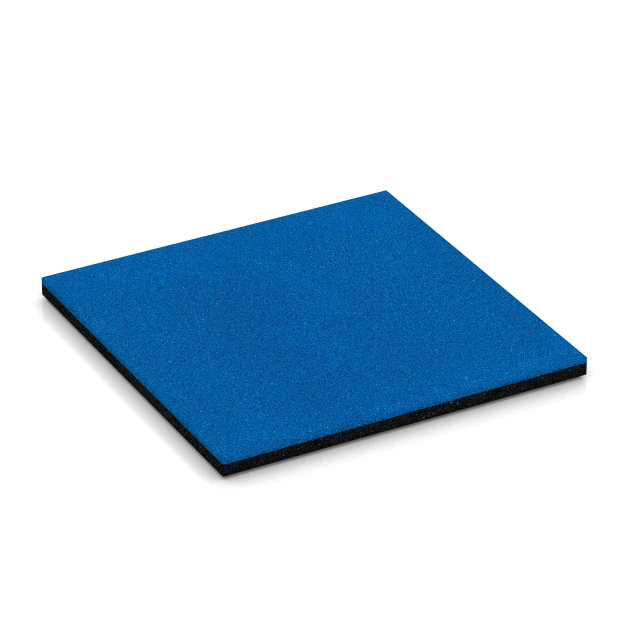
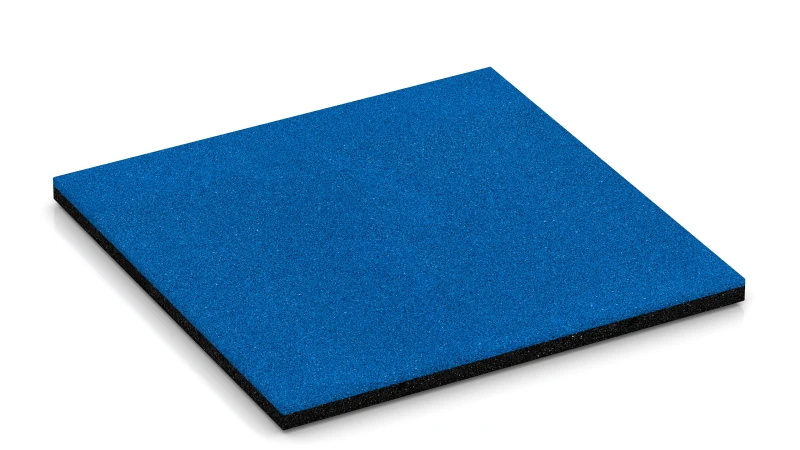
Rubber patio tile – 3 cm FF "Sky blue"
- /
-
Ready to ship
from stock in 1-3 days - €52.40 / 4 Piece / m²
- (5.00 kg / Piece)
EAN: 4251469362505 | Item no.: 6250
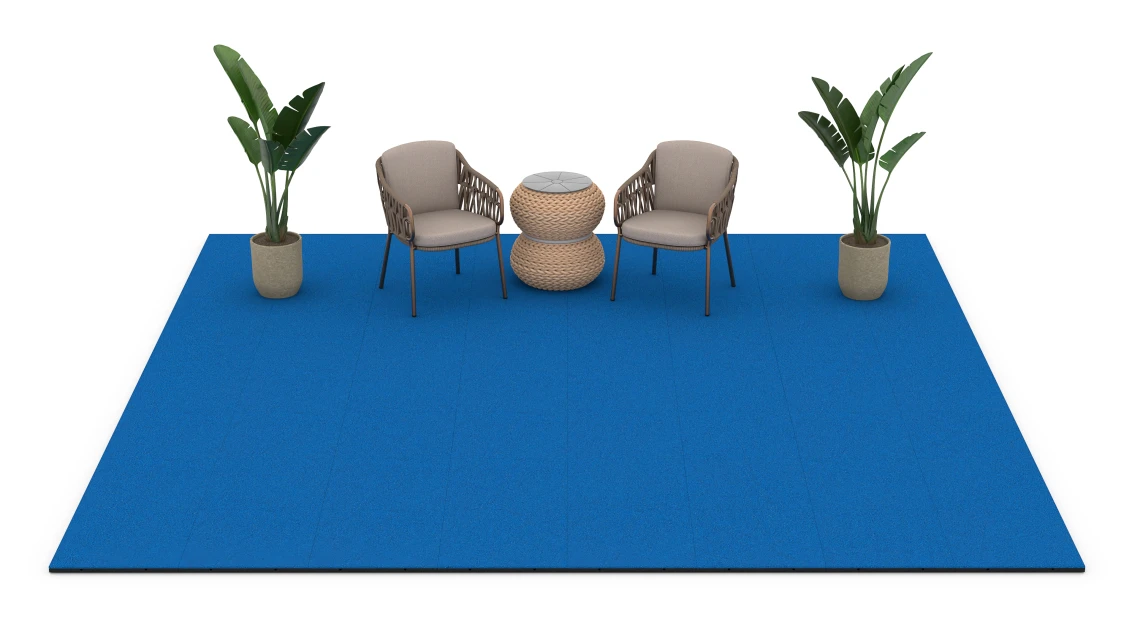
The 50 × 50 × 3 cm rubber patio tile is an elastic floor covering made from PU-bound rubber granulate, designed for patios, balconies and garden paths. The tiles are laid in a half-bond pattern and joined along two sides by plastic connectors. Their handy format makes transport and installation straightforward, even on upper floors and roof terraces.
Areas of application
The rubber patio tile suits virtually every outdoor area around the home: roof terraces, balconies, loggias, garden seating areas, pool surrounds and connecting paths. It bridges minor unevenness in the substrate and creates a pleasantly elastic walking surface that contrasts noticeably with hard stone paving.
Construction and layers
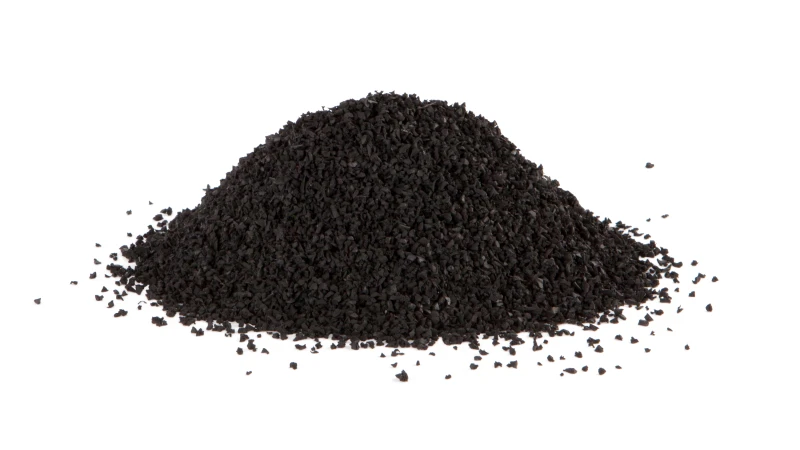
The rubber patio tile consists of PU-bound ELT rubber granulate. ELT denotes processed granulate recovered from end-of-life vehicle tyres. The high binder content delivers a hard-wearing and dimensionally accurate tile. In coloured versions the binder is pigmented and coats each individual granule. The chamfered edge running around the tile produces a clean, even joint pattern.
Water permeability and drainage
The rubber patio tile is permeable across its full surface. Drainage channels are formed on the underside: on bound sub-bases rainwater follows the fall through these channels and runs off, while on plastic gravel grids it seeps directly into the ground beneath. As a result the surface dries quickly after rainfall.
Installation and connection
The rubber patio tiles are laid in a half-bond pattern on a bound sub-base, an existing hard surface or a plastic gravel grid. Suitable hard surfaces include screed, concrete, stone slabs and timber decking. Two sides are pre-drilled for plastic connectors, which couple each tile to two tiles in the neighbouring rows. The resulting tile bond prevents lateral movement. A perimeter edge restraint must be provided on site; it can be omitted where the connectors are bonded in place during installation.
Comfort and care
The surface is foot-elastic, slip-resistant and water-permeable. It cushions footsteps and impact sound – a tangible benefit over hard stone paving. Surface dirt can be swept away or rinsed off with a garden hose or pressure washer. The rubber patio tile is weather-resistant, low-maintenance and long-lasting.


Discount
Product Highlights
Characteristics
Product Details – Material and Structure


Comparative values
The structured underside on rubber tiles and impact-absorbing mats provides drainage, reduces the area of contact with a wet substrate, and affects both shock absorption and dimensional stability.
With porous tiles, water passes through the surfacing across its full area. On a water-impermeable substrate, drainage channels direct the water along the fall; on a water-permeable sub-base, it drains into the sub-base.
Studs and drainage feet keep the tile body clear of the substrate. This prevents the tile from remaining continuously in wet conditions and allows it to dry more quickly.
The profile moulded into the underside creates additional space for elastic deformation. It therefore improves shock absorption and reduces internal stresses, which can arise from different temperatures or moisture conditions between the top surface and underside. The profile consequently contributes to the tile's dimensional stability. Wide bearing pads also reduce local pressure peaks.
The functions performed by the underside depend on the relevant tile range. Rubber mats for indoor areas often have a continuous, unstructured underside and lie in near-full contact with the substrate.
Patio tiles made from rubber granules achieve slip resistance class R10 under BS EN 16165. The test uses standard test footwear on an oil-wetted ramp, in accordance with Annex B of BS EN 16165 (formerly DIN 51130). Depending on the product range, the mean overall acceptance angle lies between 12 and 17 degrees, so every range achieves R10. The tiles are described as slip-resistant rather than slip-proof because the classification applies only to the conditions tested.
Most of this slip resistance comes from hysteresis friction: the sole of the shoe deforms as it moulds around the individual rubber granules, and it is that deformation that generates most of the friction. Outdoors in rain, the permeable surface also helps, as rainwater drains through the tiles and a continuous film of water does not normally build up. The oil ramp test does not capture this effect.
The tiles have not been rated for barefoot areas under Annex A of BS EN 16165 (classes A, B or C), so no slip resistance rating can be given for barefoot use. Wet leaves, algae, ice, frost, compacted snow, oil, grease and cleaning residues can reduce slip resistance or remove it altogether. Keep the surface clear, sweep it and remove any oil promptly. Slip resistance may also decline over the service life, as abrasion can gradually smooth the surface of the granules.
Rubber patio tiles in the Classic version, measuring 50 × 50 × 3 cm, weigh around 21 to 22 kg per square metre; a single tile weighs 5.32 to 5.42 kg. Four tiles of this size cover one square metre, so the weight per square metre is four times the weight of one tile.
The weight rises with tile thickness, as the safety tiles of the same FP range in the same size show. The 4 cm tile weighs 6.15 kg, which is around 25 kg per square metre, and the 4.8 cm tile weighs 6.67 kg, around 27 kg per square metre. For tiles made from rubber granules bonded with polyurethane, the FP range in this size therefore gives a guide figure of around 21 to 27 kg per square metre for thicknesses of 3 to 4.8 cm.
For a roof terrace or a balcony, this weight per square metre is the figure used to include the load of the surfacing in the design. Within the range, it depends on the tile thickness chosen.
How thick patio tiles are depends on the type of covering, the installation method and how the area will be used. Typical thicknesses vary considerably between patio coverings.
Ceramic patio tiles are usually around 0.8–1.2 cm thick and are fully bonded to the substrate. Ceramic slabs laid on pedestals without adhesive are generally around 2 cm thick.
Natural stone slabs are commonly 3–5 cm thick, depending on the type of stone and the slab format. Concrete patio slabs are typically 4–6 cm thick, with larger formats sometimes requiring greater thickness.
Timber and WPC decking boards are generally around 2–3 cm thick and are fixed to a supporting frame. Thinner boards require closer spacing between supports. Interlocking timber or plastic tiles with a backing grid are available from around 1.5 cm.
Patio tiles made from PU-bound rubber granules are available in thicknesses of around 2–4 cm, depending on the range. They are loose laid and usually joined by an integrated interlocking system to form a continuous surface.
Which patio surface heats up least in the sun depends more on sun exposure and surface colour than on the material itself. A shaded patio remains coolest; trees, awnings or a shade sail keep direct sunlight off the surface, while air movement supports surface cooling.
In direct sun, light-coloured surfaces heat up less than dark ones. Light surfaces reflect a greater proportion of solar radiation, whereas dark surfaces absorb more radiation and convert it into heat. This applies to wood, WPC, stone, ceramic and rubber granules.
Alongside surface temperature, the material affects how hot a patio surface feels underfoot. Dense stone, ceramic or concrete surfaces transfer stored heat to the sole of the foot quickly. Patio tiles made from PU-bound rubber granules have a porous grain structure and low density, transferring less heat to the skin during brief contact and cooling down quickly once direct sunlight has ended.
Ceramic patio slabs with dense surfaces and water-permeable patio slabs made from rubber granules bound with polyurethane are both easy to maintain. How often they need cleaning depends on their surface texture, the joints, the patio’s location and how well it drains.
Dirt tends to sit on the surface of ceramic patio slabs and can usually be swept or washed away. Rough or heavily textured surfaces and wide joints, however, trap dirt more readily and need more upkeep. This is particularly true of exposed aggregate slabs, but also applies to natural stone, terracotta and timber deck tiles.
Patio slabs made from rubber granules work differently: rainwater carries fine dust and pollen through their water-permeable structure. Leaves, soil and sand can be removed with a broom or garden hose. A pressure washer can be used for a more thorough clean, with the water draining through the slabs.
Being easy to maintain does not make patio slabs maintenance-free. Dirt and vegetation need to be cleared regularly from drainage outlets, edges and open joints.
WARCO rubber patio tiles start at around €36 (about £31) per square metre. At that price, the tiles are 3 cm thick and measure 50 × 50 cm, so four tiles cover one square metre. All prices include VAT.
The cost of patio slabs varies by product range, thickness and surface. Slabs with a coloured EPDM surface are among the more expensive options, at up to around €110 (about £94) per square metre. You can find the price of each option on its product page in the online shop.
The price per square metre is for the tiles alone. On a firm base such as concrete, asphalt, concrete block paving or natural stone paving slabs, the tiles can be laid loose without mortar or adhesive (dry-laid), making installation a DIY job. If there is no firm base, you also need to allow for the cost of a sub-base, such as one built from gravel grids.
Patio tiles made from rubber granules require an edge restraint where lateral movement is possible. Where the tiles are firmly connected to each other, an edge restraint may be omitted. The same applies where the tiles are permanently bonded to the substrate.
Existing lateral boundaries can replace an additional edge restraint. If a wall, balustrade, parapet or kerb adjoins the edge tiles directly, no further restraint is needed. No further restraint is needed where a lawn meets the edge tiles flush and at the same level.
Turf rooted in the ground provides lateral support for the tiles and prevents them from shifting. Bonded tiles generally do not require an edge restraint. Designs with a fixed puzzle interlock generally do not require an edge restraint.
The formation beneath patio slabs must be level, have adequate load-bearing capacity and be well drained. For ground-level patios, the substrate must be built to withstand frost. The precise construction depends on the type of patio slab and the existing site conditions.
For a ground-level patio, the sub-base comprises a formation with adequate load-bearing capacity and adequately compacted frost-protection and load-bearing layers. Rigid concrete or natural stone slabs are normally laid on an evenly screeded laying course of chippings. Depending on the system, ceramic patio slabs may be installed on a laying course of chippings, on adjustable pedestals or in a bonded system. Timber and WPC decking require a suitable substructure.
Patio tiles made from PU-bound rubber granules require continuous support and cannot be supported at individual points on adjustable pedestals. On sound concrete, asphalt, concrete block paving or natural stone, PU-bound rubber granule tiles can be loose-laid without a mortar bed. The existing substrate must allow water to drain at an adequate fall towards an outlet or infiltration area.
On an unpaved substrate, first create a level formation with adequate load-bearing capacity. A gravel grid laid across the full area can provide stable, water-permeable support on this formation. Fill the gravel grid cells completely with suitable chippings. Depending on substrate conditions and frost exposure, a compacted frost-protection and load-bearing layer beneath the gravel grid may also be required. A concrete slab is not required for a gravel-grid construction.
Gravel stabilisation grids can be installed as a sub-base in three ways: directly on in-situ ground, on a grit laying course over the formation, or on a crushed-stone sub-base.
The grid cells are filled with crushed, angular grit. The cells are filled to the top, and the grit is levelled flush with their upper edges.
Where the ground has sufficient bearing capacity and is only lightly loaded, installation directly on in-situ ground is sufficient. Topsoil must first be removed, and the formation must be carefully prepared. The grids are laid directly on the natural ground, allowing the 4 cm ground spikes to penetrate the soil.
A thin grit layer can be laid over the formation to even out irregularities. The ground spikes extend through this grit layer and into the formation.
Where the ground has a low bearing capacity, protection from frost effects is required, or high loads are expected, a crushed-stone sub-base must first be installed and compacted. The ground spikes cannot penetrate the compacted crushed stone. A grit layer is therefore laid over the sub-base so that the spikes are fully embedded. This grit layer must be at least 6 cm thick, and the grids must sit firmly on it.
Gravel grids are also sold as grass grids or plastic cellular grids. The grids are set into the thin grit layer, which is about 2 to 5 cm thick when used to even out irregularities.
Rubber flooring tiles can be installed directly over concrete, screed, asphalt or tiled floors as a loose-laid covering, without an additional sub-base.
With no additional sub-base required, the substrate must still be load-bearing, clean and sufficiently level. Remove loose material, oil and other contamination before laying. Larger irregularities, depressions and changes in level must be levelled out so that the tiles lie stably and do not create obtrusive edges.
The starting point and laying direction depend on the shape of the area and the required pattern. In many cases, starting in the centre helps to align the pattern evenly and produce similar cuts at opposite edges. For other areas, a straight boundary may provide the appropriate starting point.
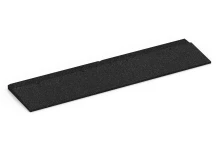
Lay the tiles according to the chosen layout and join them firmly. Depending on the product, this is done using puzzle joints, dovetail joints or separate connectors. Measure the edge tiles, cut them to fit and then insert them.
Bonding is generally not required. Small cut pieces, stair treads and very small areas may require bonding.
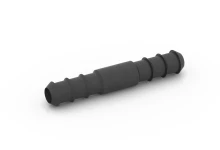
Plastic connectors, also known as connector pins or plastic connecting pins, are cylindrical plastic pins with a profiled surface. They fit into factory drilled holes along the sides of the tiles and connect rubber tiles in adjacent rows. Perpendicular to the connector axis, they prevent the tiles from shifting relative to one another. Along the connector axis, the tiles remain free to move.
The tiles are laid row by row in half bond. The plastic connectors are first inserted into the holes along one side of the tile being positioned. With the connectors leading, this tile is then pressed into the holes in the two adjoining tiles in the row already laid. The connectors are designed to fit tightly, so noticeable force during insertion and when pressing the tiles together is normal. If required, the connectors may be glued in place, which prevents the tiles from drifting apart along the connector axis.
Good design made easy.